Turning my garden shed into a cute office

We converted our garden tool shed into a beautiful home office. I have since then updated this space to make room for my art projects. Read about the updates here.
This post was originally published on December 31, 2022. It has now been re-published with some minor edits.
The Project
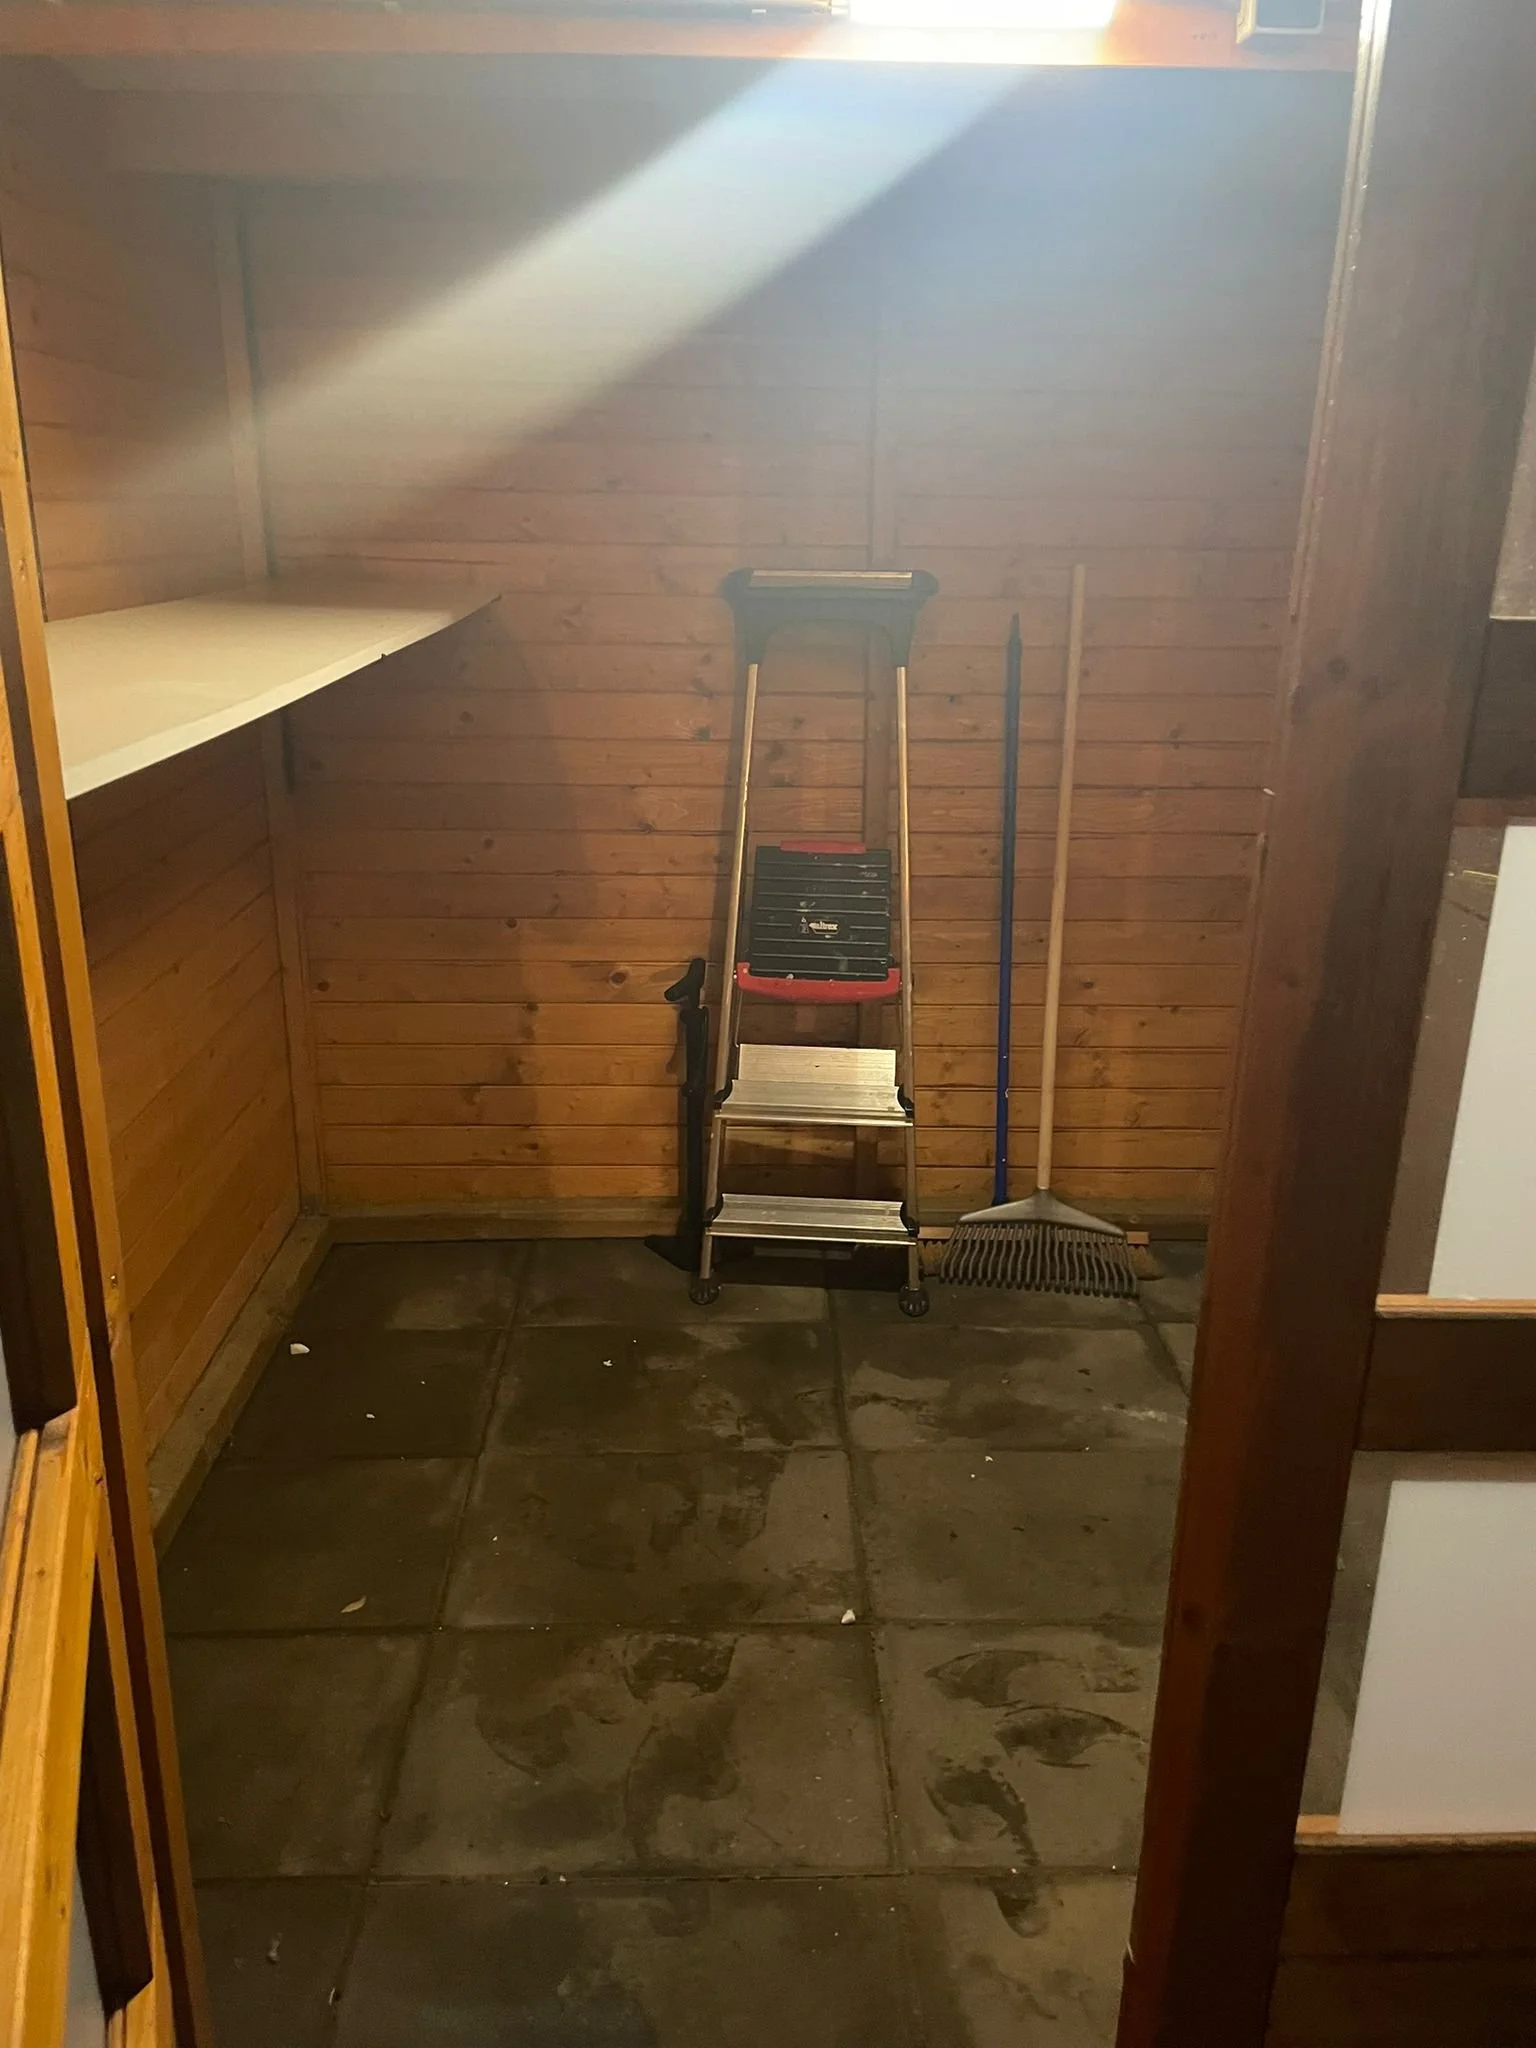
We took over the house mid-November 2021 and building an outdoor office was something that should not have crossed our minds in the dead of winter. But it did. And once an idea takes seed in my partner's mind, I might as well start executing it. Thankfully, we remained quite busy with our Düsseldorf apartment until March 2022. As spring weather creeped on us, my better half got restless and started referring to our garden shed as an office and I knew then it was time to get going. We took over a simple garden shed with a single light and two shelves which the previous owners decidedly used as nothing more than what it was - a garden shed. And then we turned it into a cosy outdoor office.
The Inspiration
During the pandemic, I watched an Instagram influencer named Beth Sandland renovate her backyard shed and transform it into a home office. Right then, I made a mental note to do the same, should an opportunity present itself. She has since then transitioned from a travel blogger to a mum-fluencer and I no longer follow her on account of the trite nonsense she peddles, but I’lll acknowledge that I first had the idea from her.
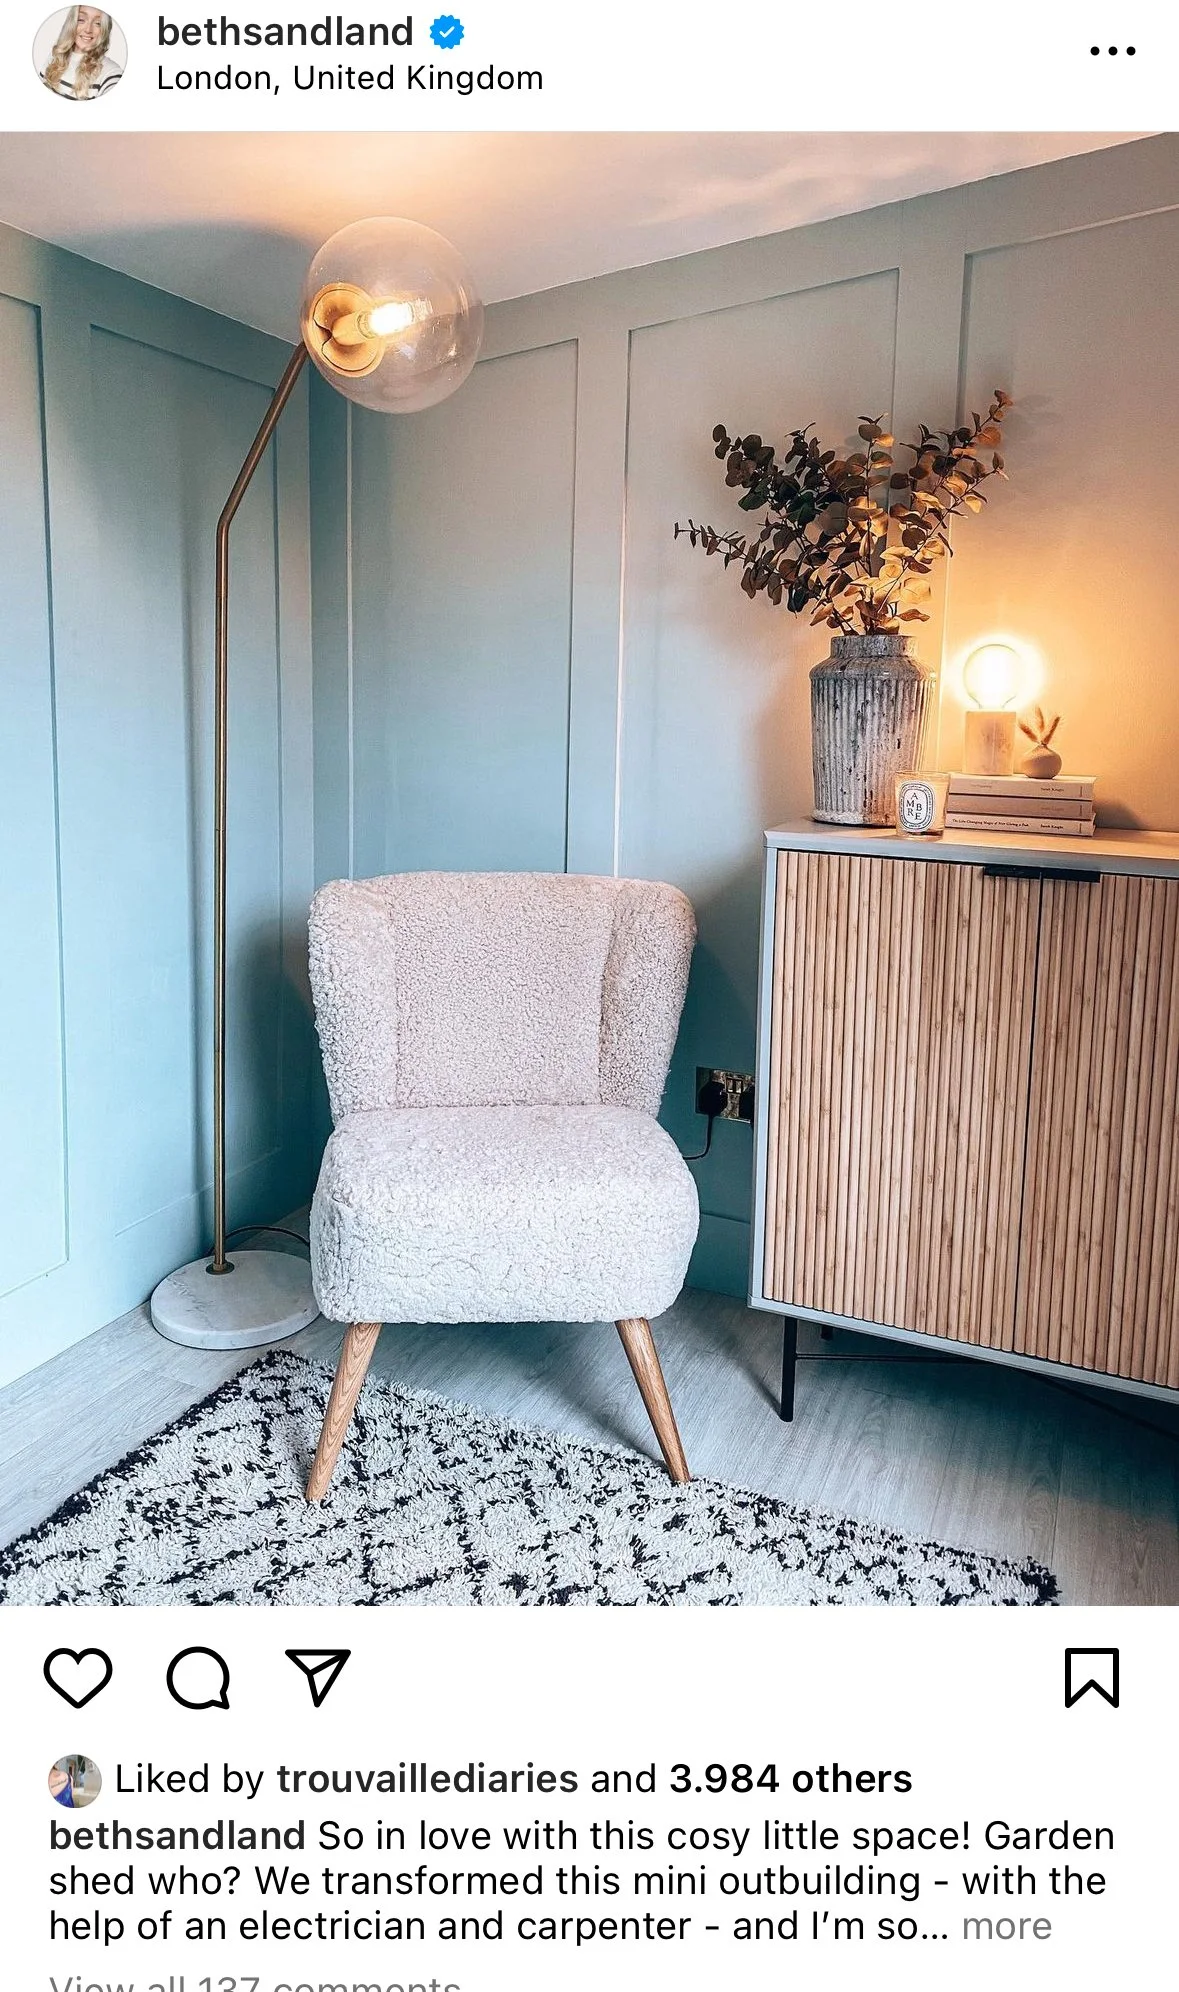
Beth Sandland's garden office
The Process
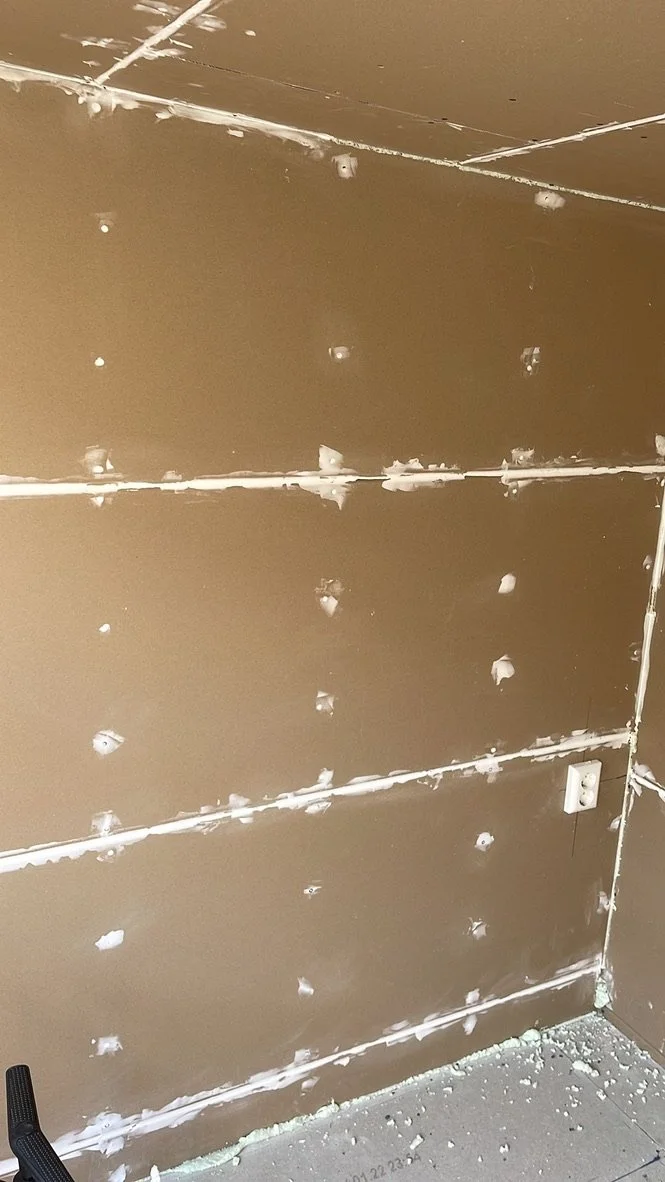
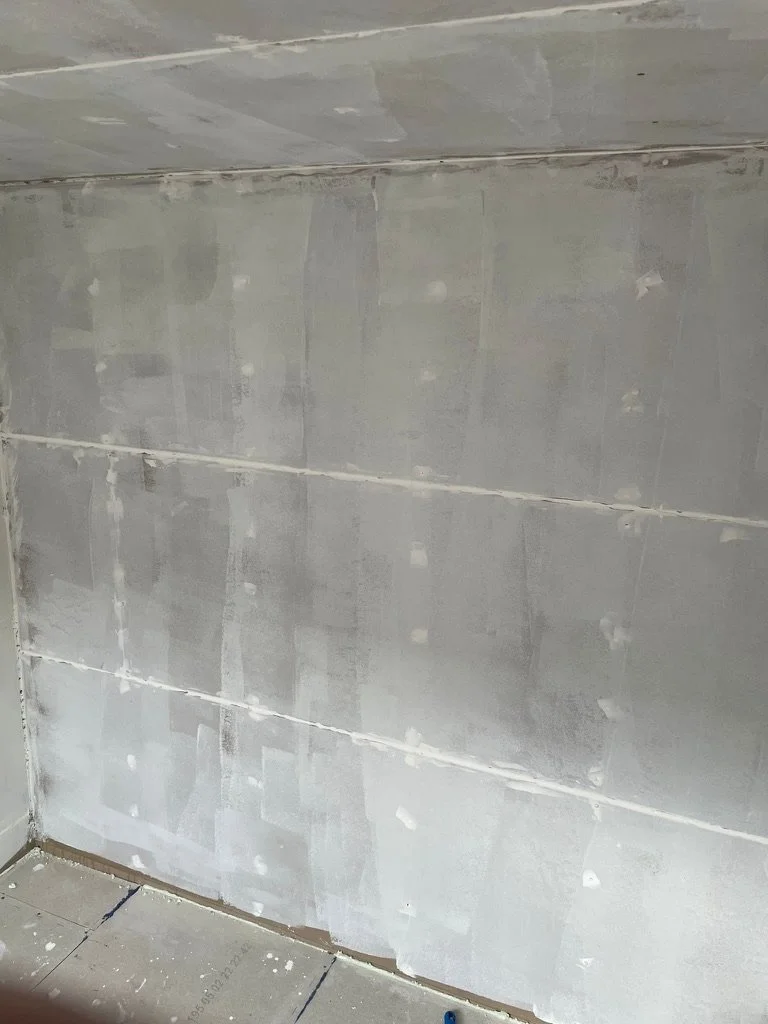
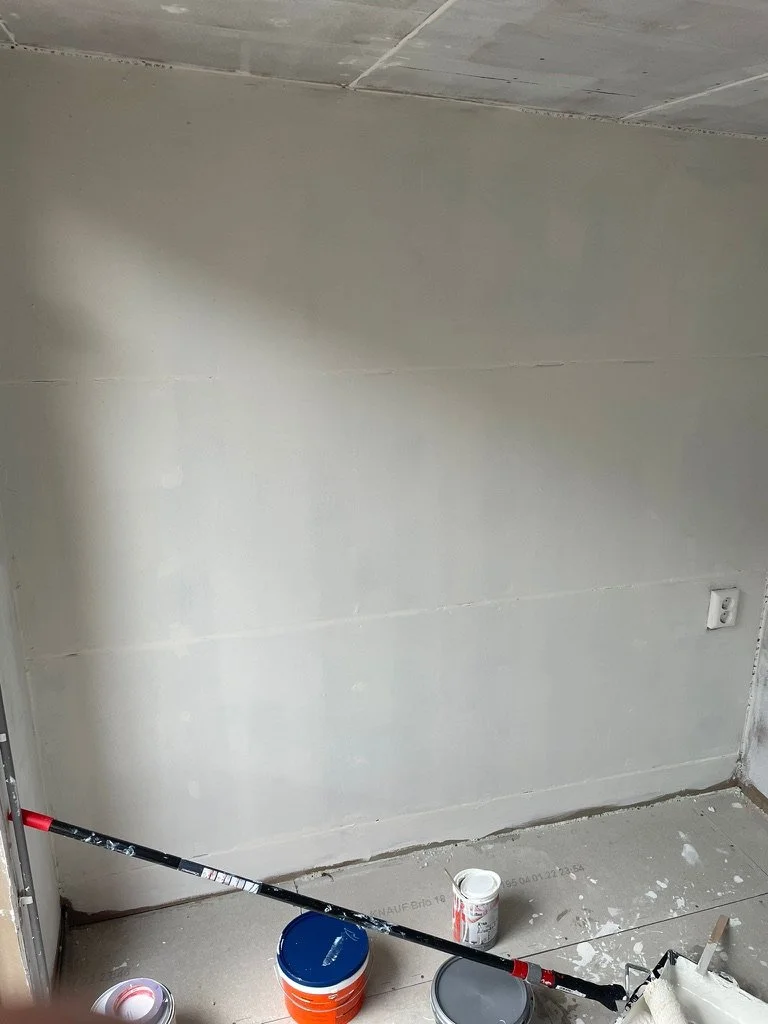
We started with figuring out the cost of insulation and electrical wiring. My better half watched YouTube videos to figure out what the work would entail so we could nail down the cost of material and service. Our best estimate was about 2,000€ and we ended up hiring someone for 1,600€ (incl. material). Insulating the walls and adding additional sockets had to be the first step and we knew the insulation would reduce the available area, so we didn't plan any furniture until that was done.
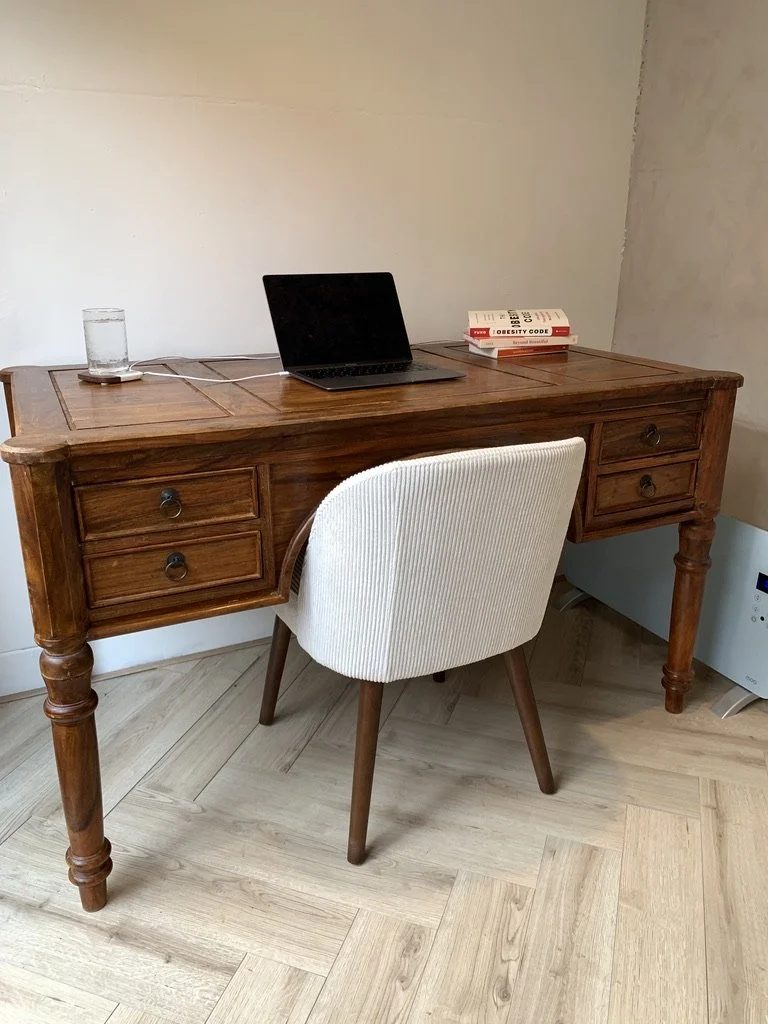
Once the electrical wiring was completed, my partner and I took over to paint it. I wanted to do this project without outside help (friends and family) so we agreed to research and put in the floor ourselves. We both love (and therefore agreed on) herringbone floors but they are an absolute nightmare if you don't have the skills and/or the tools. I picked a light coloured floor to make the small space seem bigger and also because we had zeroed in on a beautiful, dark wood antique desk. We estimated 5 packages of the herringbone planks and ended up needing an additional one after the mistakes we made. If we could do something differently, I would buy a better floor cutting machine because a cheap one gives you exactly what is worth it's value - a poorly cut floor that looks bad. We were building this floor in the cold weather whilst recovering from Covid and it tested our patience as well as our love for each other. If you can spare the cash, get a good machine and read the installation instructions extra carefully. We ended up taking the floor out three times over two days before it fit and looked the way we could settle for. We did not get clean edges everywhere, but we covered those up with a thin strip of adhesive laminate. From looking at the floor, you would not be able to tell that it was done by two first-timers.
The Cost
Insulation - This was our biggest spend and an absolute necessity. The shed was plain wood with no electricity and we opted to hire a professional to insulate and wire it. The average hourly labour rate is 40€ and the person we hired planned to do it over two and a half days. After multiple delays and rescheduling, he offered to bring in an additional person and do it in one day for the same price. The insulation and wiring cost was 1,600€ including material.
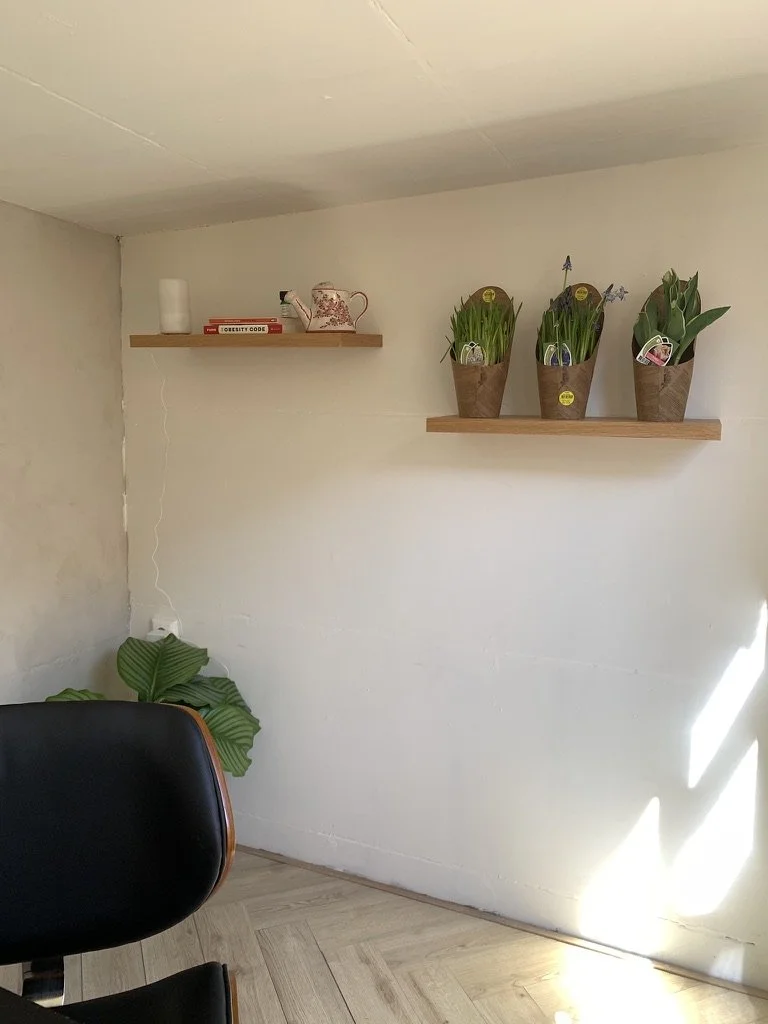
Paint - We re-used the leftover chalk paint from the living room. We managed to do two complete coats on the accent wall at no additional cost.
Floor - The herring bone floor came from the local Praxis. We ended up needing 6 packages of the herring bone tile and each cost 40€ after discount. We also needed a special saw to cut tile and we bought the cheapest one they had at 50€.
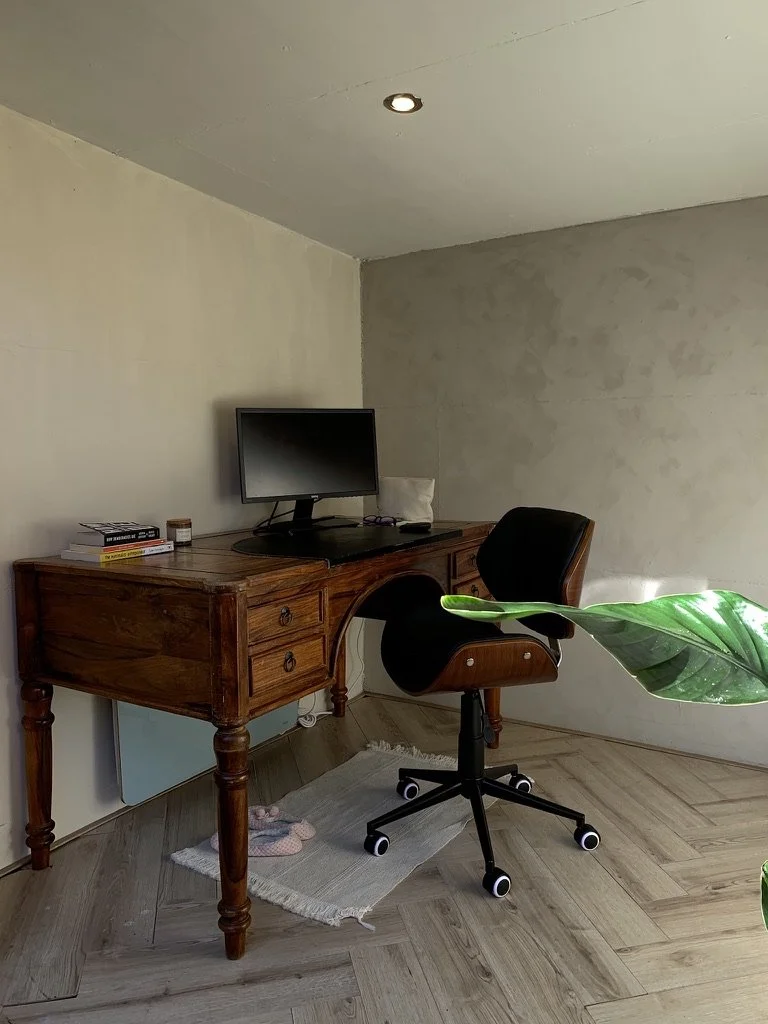
Furniture - We found the desk on the local Dutch marketplace - kind of like Kleinanzeigen in Germany or Facebook Marketplace. It was originally listed for 300€ for pick up in Rotterdam but the guy eventually sold it to us for 170€ since he couldn't find other buyers. This was by far a steal because we have seen Ikea, LaRedoute, and similar desks being resold for that price and we snagged a nice French antique! We are re-using the dining room chairs until we find an office chair to our taste, but we budget an additional 150€ for it. We also added a space heater for 60€.
The total cost of the project added up to 2,270€.
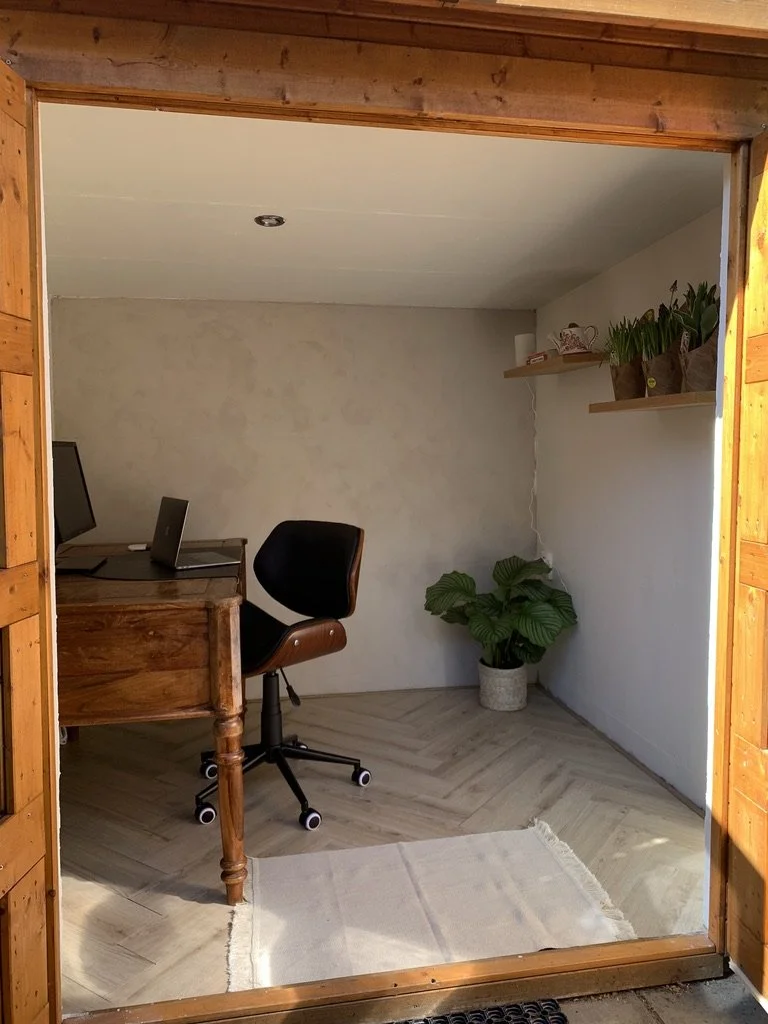
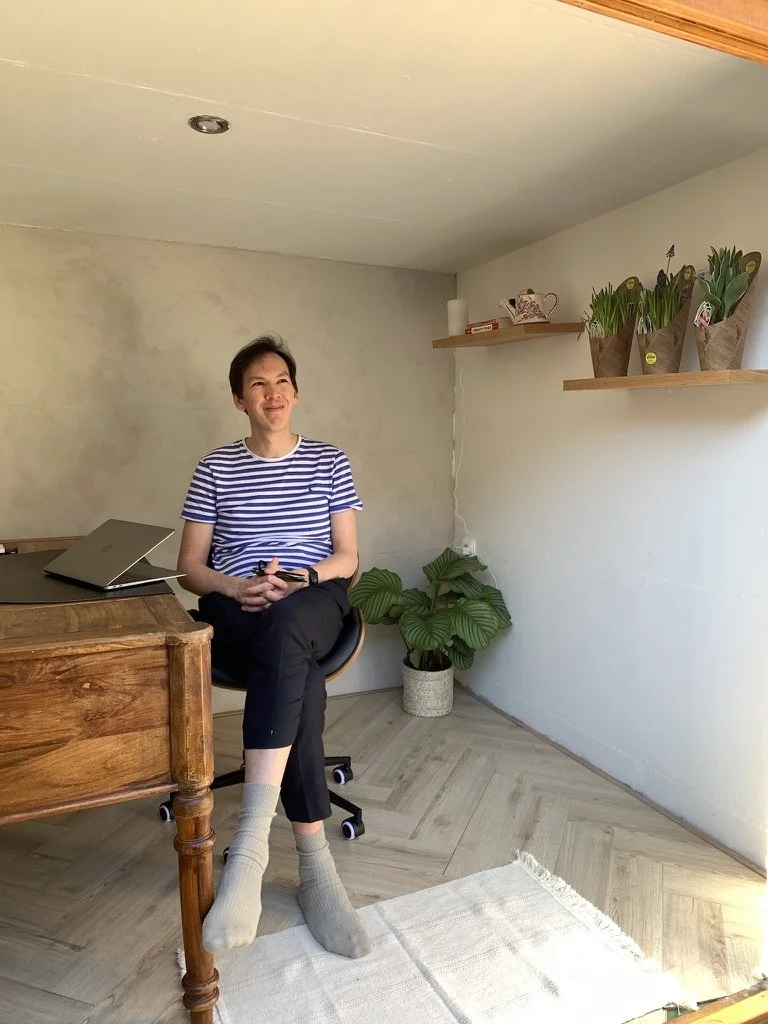
Final Reveal
I actually didn't have the "before" photos until I started writing this piece and then had to ask my partner for some. The transformation even shocked me for 5 minutes! Needless to say, we are exceedingly happy with how it has turned out. If you are interested in a short video of the transformation as we were doing it, check it out here.

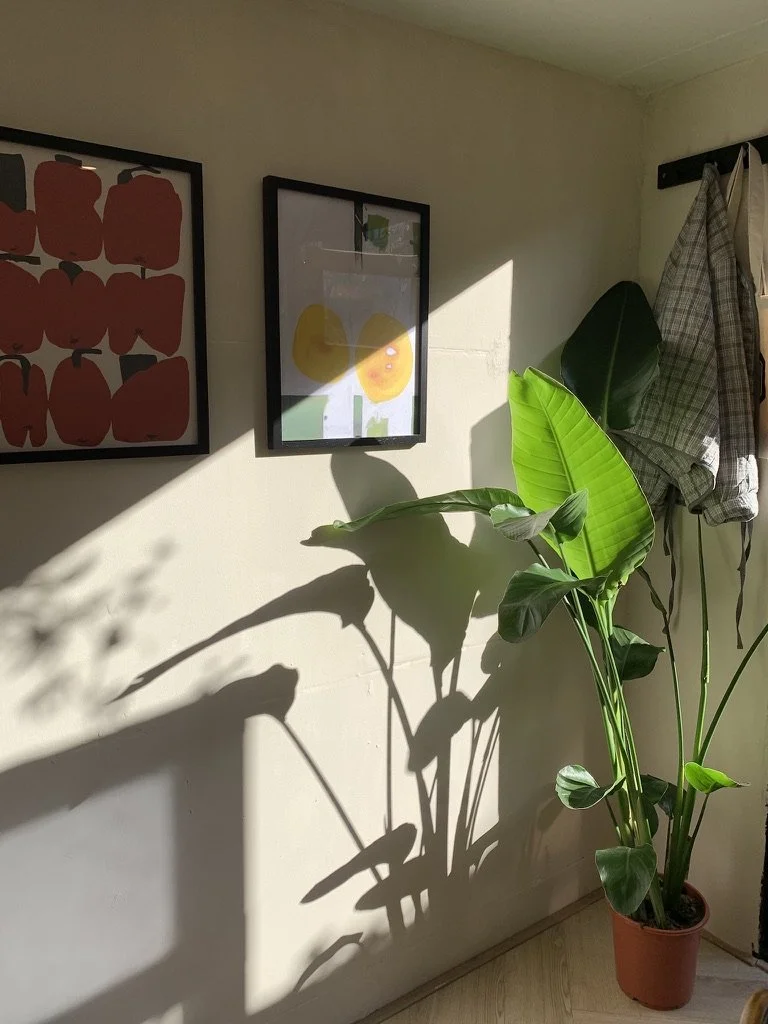
Update
After I moved in with my husband, I started using our garden shed office almost every day and realised it needed an update to accommodate my hobbies. Not wanting to spend more money on this space, I re-purposed furniture from the house to make it into a convertible art studio. Read about the transformation.